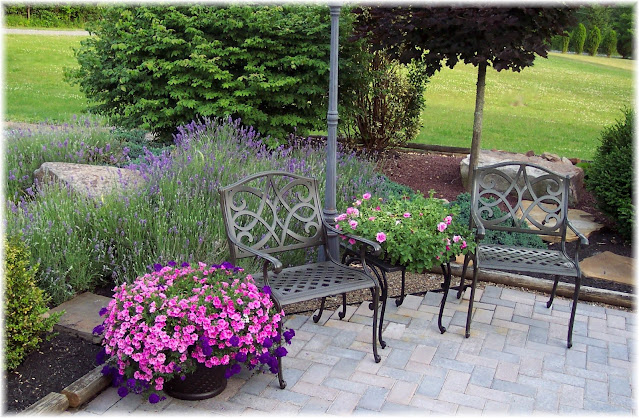
It is lavender time. This beloved herb abounds in my garden, its sweet, spicy, herbal aroma wafting through the air.
If you have access to fresh lavender, you can create these charming, fragrant delights. I have various varieties of lavender. This particular plant is new to my garden and it had wonderful extra long stems which is great for making the wands.
Cut fresh lavender stems as long as possible. Use the fresh cut stems or they will not be flexible enough. It is good to cut the lavender in the morning after the dew is gone. Count out an odd number of stems, the more stems the larger the finished wand. Eleven stems makes a small size wand I like to use 21 stems, it must be odd number so you can weave properly.
Remove any leaves and side stems. This plant has 3 blossoms on each stem so I remove the smaller ones and use those for tiny wands. Save the leaves as well for sachets.
For the larger lavender wands, I like to stagger the stems to give you a longer head. Keeping them even yields a wider bottle type wand. Either one is fine, just personal preference.
Using about 45 inches of the ribbon of your choice, I prefer a thin ribbon, tie the stems tightly just below the flowers leaving the ribbon for weaving. Leave one end about 12 inches, this will be used to make a top hanging loop if you want one.
Using about 45 inches of the ribbon of your choice, I prefer a thin ribbon, tie the stems tightly just below the flowers leaving the ribbon for weaving. Leave one end about 12 inches, this will be used to make a top hanging loop if you want one.
Begin weaving the long end or the ribbon over and under each stem, distributing them evenly to form a cage around the blossoms. Keep the ribbon tight to the previous rows.
Continue to weave the ribbon around the wand until you come to the end of the flowers. Using the skewer or toothpick, go back and tighten the ribbon. It is important to have the ribbon very tight as the lavender will shrink as it dries and the ribbon will loosen if it isn't tight.
My garden lavender beds have been established for over a decade. They continue to propagate, growing every more plentiful with each growing season. Such a fantastic addition to any herb garden.
Thanks for visiting.
Bonnie
Reader's Comments
By Guest on 11/08/2013 @ 09:55amThanks for sharing this :) I will try weaving my lavender soon. Vicki Johnson
By Guest on 07/26/2013 @ 01:45amHi, this is my first season making wands. Your instruction is thorough, so clearly written, and the pictures are helpful. My top loop is off to a side rather than in the middle. I'll experiment with different tying methods. As I weave, my thoughts go to so many women friends...what spontaneous and appreciated gifts these will be. Thank you, Anne in Oregon
By Guest on 07/11/2013 @ 07:53pmHi! I've been weaving lavender wands for many years now, but never thought about tying a top loop before. Thanks for the creative thought! Monica Canaris
By Guest on 06/14/2013 @ 10:56pmThanks for writing such clear instructions - I'll be making myself some wands soon :) Peggy Davis


.jpg)


No comments:
Post a Comment